Multiscale Gradient Removal
The most effective background extraction method which is surprisingly simple.
Background
Multiscale Gradient Removal, or MSGR as it is often referred to, is a simple yet effective way to remove background gradients in an image by using two different data sources at different image scales. By replacing the large-scale components of an image with the smaller scale components of a wider image, complex and particularly difficult gradients are completely removed leaving only very simple, low function degree gradients which are easily removed with processes like ABE or DBE. This is an adaptation of Vicent Peris’ method.
Process Icons

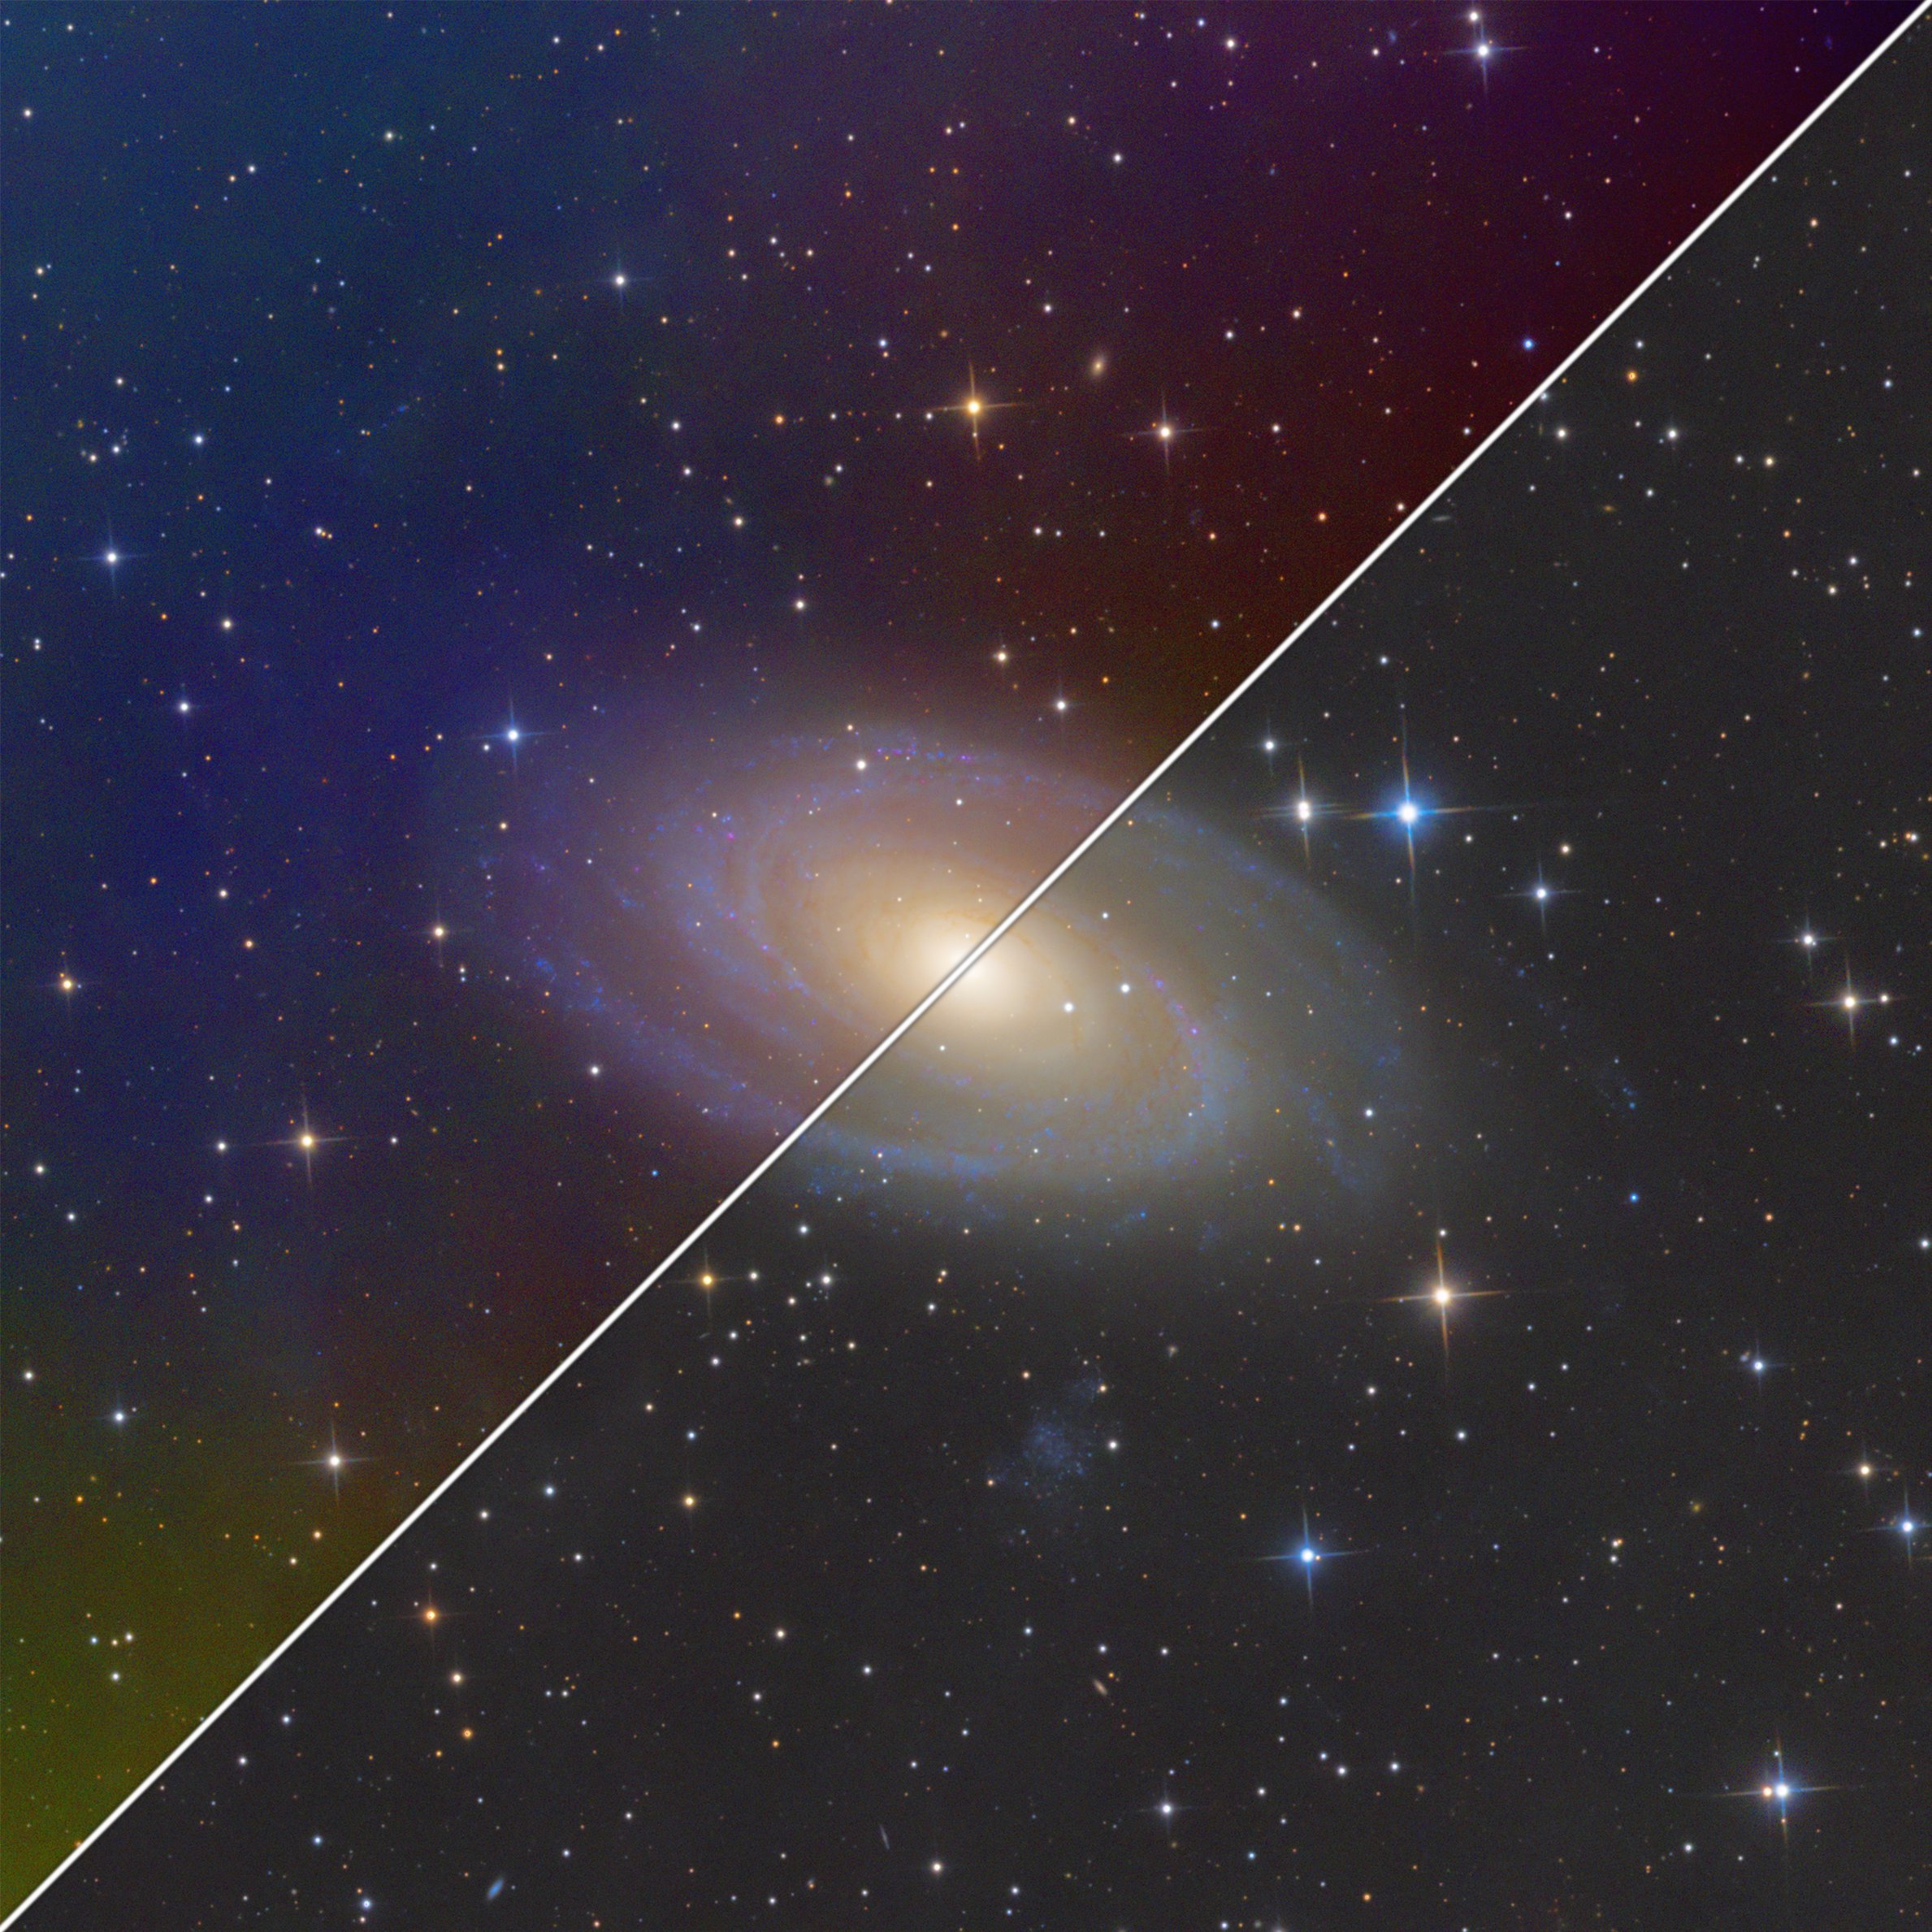
Before and After running MSGR
How does MSGR work?
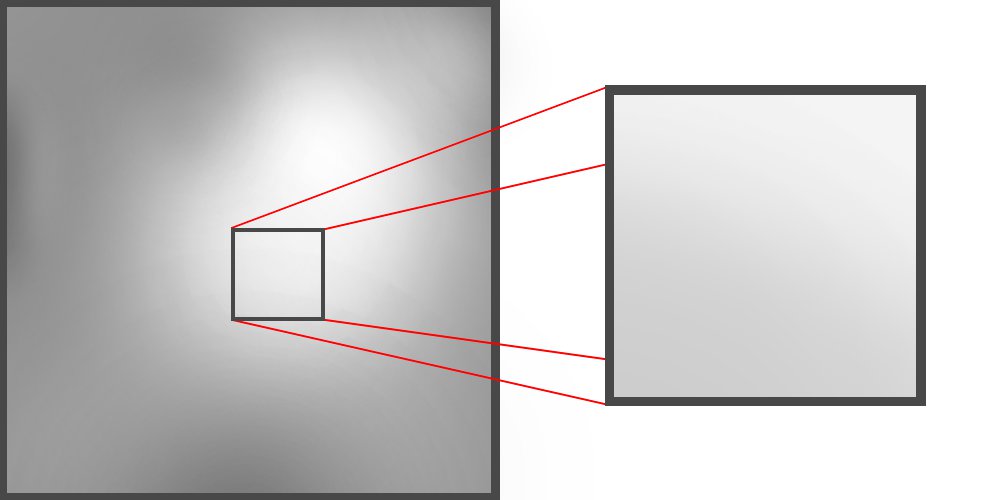
Removing a small portion of an image containing complex gradients reveals very simple gradients.
Multiscale gradient removal is very simple. In principle, by using a small section of a larger image, the complexity of the gradient decreases dramatically making what little gradient remains very simple to correct. MSGR uses the gradient of the wide-field image as a reference to generate a background model which can be subtracted from the original image to remove any residual gradients. As this method requires multiple datasets, It is recommended that the pixel scale of the wide-field image be at least 1.5 times, but not greater than 6 times the pixel scale of the narrow-field image where possible, although depending on the quality of the data and scale of correction needed this may change. This is a recommendation, not a hard limit.
Performing Multiscale Gradient Removal
Performing MSGR is a relatively simple task,
- First and foremost, load both the narrow-field and wide-field datasets into PixInsight. MSGR can be done on monochrome or color images.
- If the wide-field dataset contains any prominent gradients, remove them with Dynamic / Automatic Background Extraction. I recommend keeping the correction simple, low function degree, high smoothing, and/or few points far apart.
- Create a duplicate of the narrow-field image and name it
Narrow. Keep the original narrow-field image as it will be needed later for correction. - On the wide-field image, create a preview that is slightly wider than the field of view of the
Narrowimage. Apply theStarAlign_NarrowIcon or use the StarAlign process. The included process icon set (download above) contains all of the settings for each process.- If you use the StarAlign process manually, ensure that the following settings are correct.
- Reference Image =
Narrow - Registration Model = Thin Plate Splines
- ☑ Distortion correction
- Star Matching > ☑ Restrict to previews
- Star Matching > ☑ Use scale differences
- Reference Image =
- Run the process on the wide-field image
- If you use the StarAlign process manually, ensure that the following settings are correct.
- With the new registered wide-field image, rename it to
Wide [Optional but recommended] Use StarNet V2 or StarXterminator in linear mode to remove the stars in both the “Wide” and “Narrow” images
- Use the Multiscale Median Transform process or the
MMT_1Icon on both theWideandNarrowimages- If using the MMT process manually, disable the first 8 or so MMT layers by double-clicking the green checkmarks. by default only 4 layers will be displayed, this can be changed in the top right corner of the process.
- On the
Wideimage, apply the LinearFit_Narrow Icon or use the Linear Fit process withNarrowas the Reference image. - Use the CreateModel icon or use Pixelmath to create a new image called “Model” with the following formula:
/*file: "RGB/k"*/Narrow * med(Wide) / Wide - Apply Multiscale Median Transform or the MMT_2 Icon to the new “Model” image. This will get rid of any residual fine-scale details introduced in the model creation.
- If using the MMT process manually, disable one additional layer from the previous step using MMT eg. If 8 layers were removed with the first MMT, remove 9.
- Finally, on your original narrow-field image which was separated in step 2, apply the RemoveModel Icon or use PixelMath with the following formula
/*file: "RGB/k"*/$T * med(Model) / Model - Congratulations! Your image should now be free of any gradients!

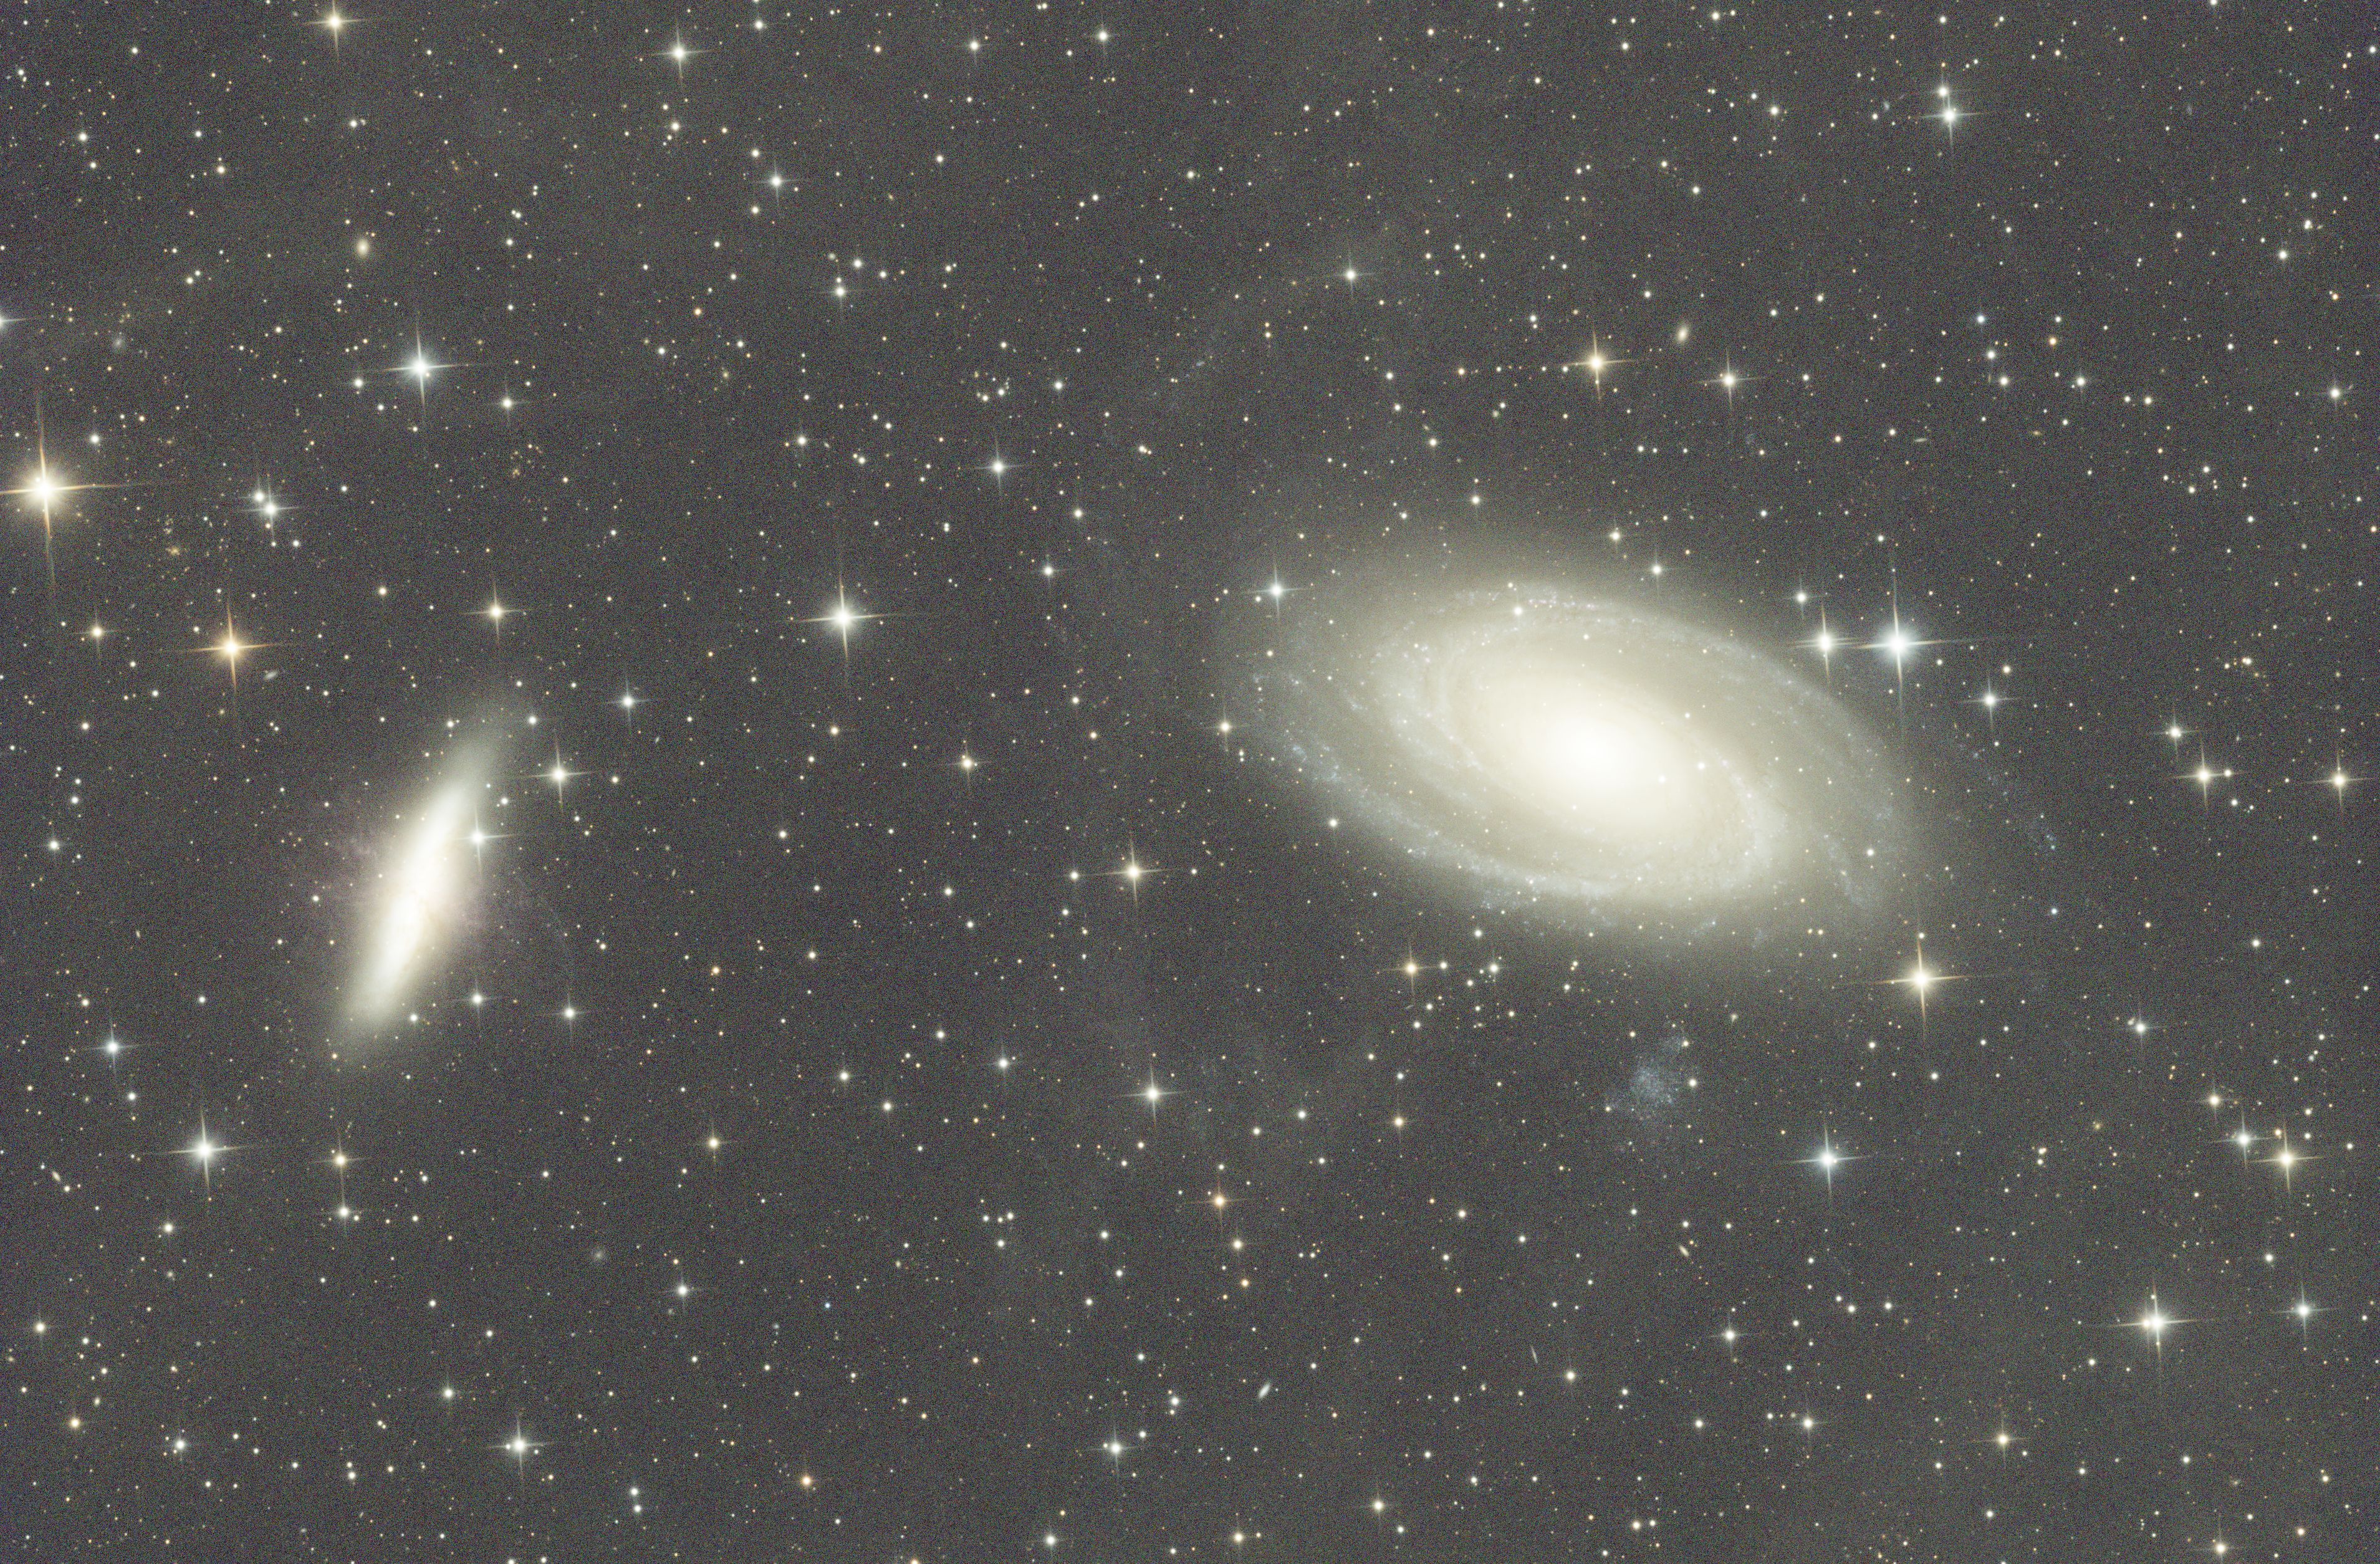
MSGR Background Model
Please feel free to contact me with any questions!
See my Contact page for info on how to contact me!